
Reviewed · WORKSHOPS
Kabelvåg: Glass Jewelry Workshop
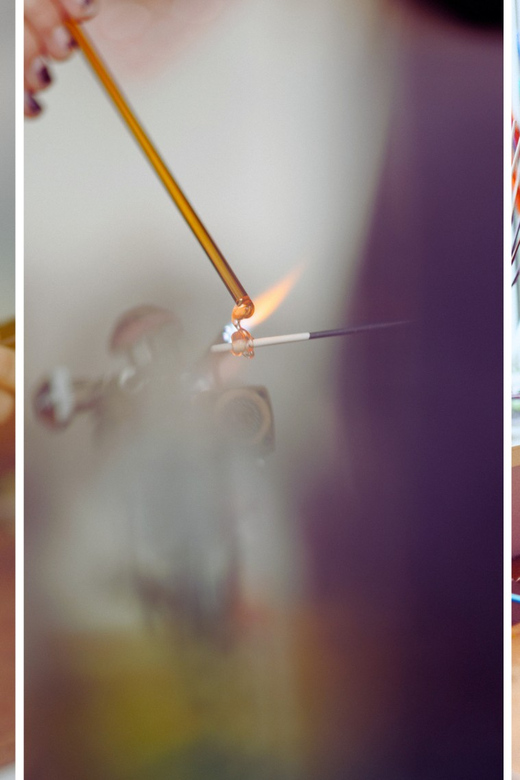
Making glass jewelry in Kabelvåg gives you something most sightseeing stops cannot: a small piece of Lofoten that you shape yourself. At Lofoten Glass, a local artist guides you through color choices, bead making, cooling, and final assembly in a workshop limited to six people.
I especially like the personal scale, since you get direct help instead of being lost in a large class. I also like the finished keepsake: your beads can become a necklace, bracelet, keyring, or earrings, with silver chains and other quality parts supplied.
The main point to consider is the price, $162 per person. That is a serious cost for one to three hours, so this makes the most sense if you value instruction, a creative activity, and jewelry you will actually keep.
Key details before you book
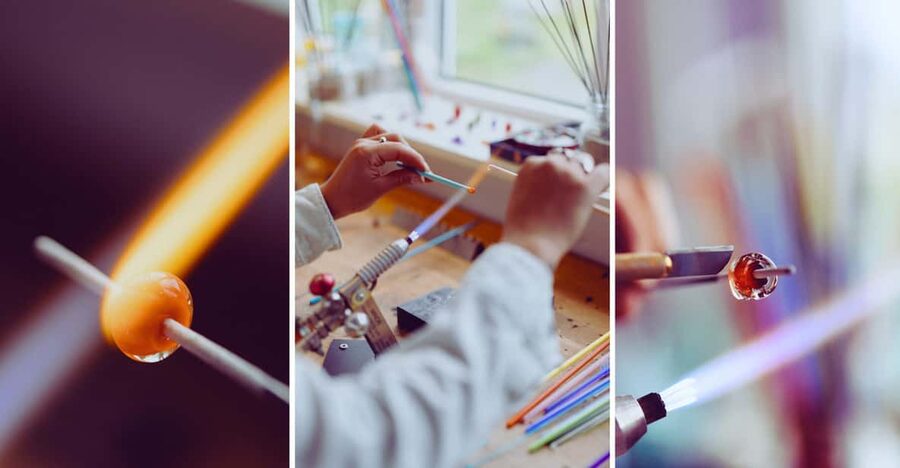
- Make your own Lofoten jewelry: Shape between 2 and 15 glass beads, depending on the course you choose.
- Choose your workshop length: The one-hour session makes about 2 to 3 beads, the 1.5-hour session about 7 to 10, and the three-hour session about 10 to 15.
- Work in a group of six or fewer: The small class allows the artist to give close help with technique and safety.
- Finish the piece yourself: Use silver chains, earring components, leather cords, or other provided materials to assemble your jewelry.
- Meet at the Lofoten Glass gallery: Look for the large Lofoten Glass logo on the building and beside the entrance.
- Plan around limited dates: Workshops run on selected Thursdays and Fridays between 9 AM and 4 PM.
Why this Kabelvåg workshop is worth your time
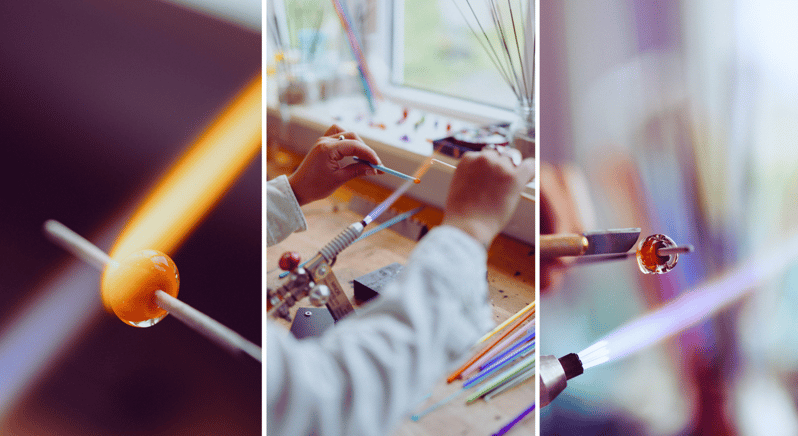
Lofoten is full of grand scenery, but not every memorable activity needs to involve a boat, a mountain, or a long walk. This workshop offers a quiet change of pace. You sit down, work with your hands, and leave with an object connected to the place where you made it.
The appeal is not simply that you receive jewelry. You take part in each major step. You select colors, shape the hot glass under instruction, let the pieces cool, and decide how they will be worn. That personal choice is what turns a small bead into a useful souvenir rather than a standard trinket.
The activity also suits a day when the weather is poor. Lofoten can be dramatic and beautiful, but rain and wind can change outdoor plans quickly. A warm gallery workshop gives you an indoor option with a clear start and finish.
The setting is in Kabelvåg, in Nordland County, within the Lofoten Islands. The experience is provided by Lofoten Glass, and the instructor speaks English and Norwegian. You do not need to arrange separate materials or bring jewelry-making supplies with you.
A few more Lofoten half-days to weigh up
- From Svolvær: Lofoten Islands Silent Trollfjord Cruise
★ 4.8 · 2,979 reviews - From Svolvaer: Lofoten Fishing Boat Cruise
★ 4.7 · 621 reviews - From Svolvær: Lofoten RIB Sea Eagle Safari Trollfjord Cruise
★ 4.9 · 591 reviews
Arriving at the Lofoten Glass gallery
The meeting point is straightforward. Go to the gallery and look for a building marked with a large Lofoten Glass logo. The same sign appears on the facade and near the entrance door, so it should be easy to identify once you arrive.
Free parking is provided, which is useful if you are touring the islands by car. No separate transport is included in the activity details, so you should plan to reach the gallery on your own.
The workshop is wheelchair accessible. Since the class lasts from one to three hours, you can also fit it into a wider day in Kabelvåg without giving up an entire morning or afternoon. Check the available start times carefully, since sessions are offered only on selected Thursdays and Fridays between 9 AM and 4 PM.
Inside, the small group limit matters. With no more than six people, the session has a more personal feel than a large craft demonstration. You have room to ask questions, get help with the glass, and make decisions about your own design.
Starting with glass safety and basic technique
The session begins with an introduction to glasswork and safety. This is an important part of the experience, not filler. Glass requires careful handling, and a clear explanation helps you work with more confidence.
You are introduced to the basic methods before making your own beads. The artist leads the process and provides guidance as you go. Since the activity is aimed at participants aged 15 and above, it is better suited to older teenagers and adults who can follow the workshop instructions.
Do not expect a completely free-form art session from the first minute. You will work within the artist’s process, especially at the start. That is a benefit for beginners, since you have a structure to follow and someone nearby to correct small mistakes.
At the same time, the design choices remain your own. The supplied information does not set out a fixed pattern or single finished style, so your colors and final jewelry arrangement can reflect your taste.
Choosing colors and shaping your beads
The creative part begins when you select colors and shape the glass pieces. This is where the workshop becomes more than a demonstration. You are not just watching an artist produce a finished item. You are making choices that affect the look of your jewelry.
The exact number of beads depends on the time you select:
- The one-hour course allows about 2 to 3 beads.
- The 1.5-hour course allows about 7 to 10 beads.
- The three-hour course allows about 10 to 15 beads.
These numbers help you choose wisely. The one-hour option is a compact introduction and may work well if you want a small pair of earrings or a simple accent piece. The 1.5-hour course gives you more room to create a group of beads without committing half a day.
The three-hour workshop is the best fit if you want plenty of design freedom. With up to 15 beads, you have more options for a bracelet, necklace, or mixed piece. You also get more time to work at a calm pace, though the longer session costs more of your holiday schedule.
The bead count is an estimate of what you can make within each course. Your pace and the amount of help you need will affect the final result. If you are new to glasswork, do not choose the longest session solely because you want a large collection. Choose it because you want more time with the craft.
Same stretch of coast, a completely different day out:
- Lofoten Island: Silent Trollfjord Cruise from Svolvær
★ 5.0 · 389 reviews - From Svolvaer: Trollfjorden Wildlife RIB Cruise
★ 4.8 · 355 reviews - Eggum: Lofoten Islands Midnight Sun Kayak Tour
★ 4.9 · 322 reviews - Lofoten: Trollfjord Sea Eagle Safari by RIB Boat
★ 4.9 · 308 reviews
Cooling the glass and taking a breath
After shaping, the glass pieces must cool. This stage gives the workshop a slower rhythm. The activity is not rushed from one production step to the next, and the cooling period forms a natural pause before assembly.
The workshop provides tea, coffee, and snacks during this part of the session. That small touch makes the experience feel more relaxed and gives you time to think about how your pieces might work together.
The cooling step is also where the idea of handmade jewelry becomes clear. Each bead reflects your decisions and the way you worked with the material. The results may not be perfectly uniform, and that is part of the appeal. A handmade bead carries more character than a factory-matched set.
You should keep your expectations practical. You are learning a craft in a short workshop, not completing professional glass training. The value is in the creative process and the personal object you make, not in producing a flawless commercial piece.
Turning beads into jewelry
Once your glass pieces are ready, you assemble them yourself. You can create a necklace, bracelet, keyring, pair of earrings, or another arrangement that suits your design.
The provided materials include silver chains, earring components, leather cords, and other necessary jewelry-making supplies. This is an important value point. You do not have to search for findings or buy a separate chain after the workshop, and the finished item is intended to be wearable.
The assembly stage gives you another chance to make the piece personal. A few beads can become a simple pair of earrings. A larger set can be arranged into a necklace or bracelet. If your plan changes after seeing the finished glass, you can adjust the form to match what you actually made.
I like this part because it prevents the workshop from ending with loose beads in a bag. You finish the session with a usable object and a clear memory of how it came together. The choice of silver parts also gives the result a more polished look than a basic craft souvenir.
Comparing the one-hour, 1.5-hour, and three-hour options
At $162 per person, you should think about the length before booking. The price covers instruction, glass, jewelry components, access to the small group workshop, and the time of a local glass artist. It is not a cheap add-on activity, but it includes more than a simple make-and-take craft.
The one-hour session is the easiest to fit into a packed itinerary. It also gives you the smallest number of beads, about 2 to 3. Choose it if you want a short introduction or a modest piece and would rather keep the rest of your day open.
The 1.5-hour session is likely the most balanced choice for many people. You can make about 7 to 10 beads, which gives you a better selection for jewelry, while the time commitment remains manageable. If you want a meaningful activity without spending three hours indoors, this is the practical middle option.
The three-hour course is for people who genuinely enjoy making things. You may produce 10 to 15 beads and have more time to consider colors, shapes, and final arrangements. It can be good value if the workshop itself is a major part of your day, but less so if you are mainly looking for a quick souvenir.
The price is easier to justify for people who value personal instruction and a lasting piece. If you are comparing it with a standard gallery visit, it will seem expensive. If you are comparing it with a private creative lesson that includes materials and a finished item, the cost has a clearer purpose.
Who will enjoy this experience most
This workshop is a strong choice for creative people, couples, friends, and solo visitors who like to bring home something they made. It also works well for anyone who wants a break from outdoor activities without giving up a connection to local craft.
The small group is helpful for beginners. You can ask questions and receive direct guidance rather than trying to copy a demonstration from the back of a crowded room. The English and Norwegian instruction makes the activity accessible to English-speaking visitors.
The minimum age is 15, so this is not a family activity for younger children. Families with teenagers may find it suitable if everyone taking part is at least 15 and interested in the process.
You should also book with realistic expectations. This is not a sightseeing tour with several stops, and it does not include a guided trip around Kabelvåg or the surrounding islands. The focus is the gallery, the glass, and the jewelry you create.
Practical timing and booking advice
The workshop is offered on selected Thursdays and Fridays, from 9 AM to 4 PM. That limited schedule makes advance planning important, especially if your stay in Lofoten is short.
You can cancel up to 24 hours before the activity for a full refund. The reserve-now, pay-later option also helps if your route through Lofoten is still changing. Those terms are useful in an area where weather, road conditions, and ferry plans can affect a day’s schedule.
Check availability for the exact start time and duration before you commit. The one-hour, 1.5-hour, and three-hour options are not interchangeable from a planning point of view. A three-hour session may take up a substantial part of your day, while the shortest version can fit around another visit.
Wear whatever allows you to sit comfortably and work carefully. The supplied information does not list a special clothing requirement, so there is no need to buy special equipment. All necessary glass and jewelry materials are provided at the gallery.
The strongest reason to book
The best part of this experience is the combination of guidance and choice. You receive help from a local glass artist, but the final design is still yours. That balance is why the finished jewelry can feel personal rather than mass-produced.
The workshop has also earned especially strong praise for the fun of learning to make glass beads and for the beauty of the jewelry participants take home. That matches the main practical benefit: you leave with a keepsake that reflects your own color choices and work.
The main weakness remains the price. At $162, the experience is a poor fit if you want a low-cost activity or a quick look inside a gallery. It is a better fit if you are happy to pay for close instruction, supplied materials, and a creative memory from Lofoten.
Should you book the Kabelvåg glass workshop?
Book it if you enjoy crafts, want a personal souvenir, and have a free Thursday or Friday during your time in Lofoten. I would lean toward the 1.5-hour course for most people, since it offers enough beads for a more satisfying finished piece without taking up three hours.
Choose the one-hour version for a short introduction and a small design. Choose three hours if you want the making process itself to be a main event. Skip it if you are traveling with children under 15, watching every dollar, or hoping for a wider tour of Kabelvåg.
For the right visitor, this is not just a jewelry purchase. It is a guided chance to make something by hand in the Lofoten Islands, then carry that memory with you.
FAQ
Where does the glass jewelry workshop meet?
Meet at the Lofoten Glass gallery in Kabelvåg. Look for the large Lofoten Glass logo on the building facade and beside the entrance door.
How long does the workshop last?
You can choose a one-hour, 1.5-hour, or three-hour workshop. Start times are available between 9 AM and 4 PM on selected Thursdays and Fridays.
How many glass beads can I make?
The one-hour course includes about 2 to 3 beads. The 1.5-hour course includes about 7 to 10 beads, and the three-hour course includes about 10 to 15 beads.
What can I make with the beads?
You can turn your beads into a necklace, bracelet, keyring, pair of earrings, or another jewelry arrangement.
Are materials included?
Yes. The workshop provides glass, silver chains, earring components, leather cords, and other necessary materials for making and assembling your jewelry. Tea, coffee, and snacks are also available.
Is the workshop suitable for children and wheelchair users?
The activity is wheelchair accessible, but it is not suitable for children under 15. Instruction is available in English and Norwegian.
Just added around Lofoten
- From Svolvær: Whale Watching Day Trip to Andenes★ 3.8 · 27 reviews
- Lofoten VIP PRIVATE tour from Svolvaer★ 5.0 · 13 reviews
- Lofoten Highlights Photo Tour – Henningsvær & Haukland★ 5.0 · 14 reviews
- Lofoten Winter Panoramic Tour★ 5.0 · 31 reviews
- Private Full Day Sightseeing Tour from Svolvær to Å★ 5.0 · 12 reviews
- Small Group Luxury Cruise to Trollfjord on a 33m Classic Yacht★ 5.0 · 29 reviews
- Lofoten RIB Sea Eagle Safari and Trollfjord Cruise★ 5.0 · 69 reviews
- South Lofoten Highlights Photo Tour (Summer)★ 5.0 · 8 reviews
Workshops, compared.

Cross-Country Ski Lesson for Beginners in Tromso
Read our review →
Tromsoe: Make your own silver ring in a goldsmith workshop
Read our review →
Learn Nordic Skiing – Private Class with Professional Instructor
Read our review →


Browse the lists this tour appears in